Whether you’re ripping up your carpet or starting with ugly, bare stairs, this guide will show you the easiest way to update your stairs with minimal cost.
When we bought our house, we were excited about the hardwood floors throughout. We loved the beauty and warmth of the red oak wood, but there was one problem. The old owners slapped some cheap, thick, ugly paint on all of the interior stairs.

No matter how often I vacuumed and scrubbed, these stairs never looked clean. Since I didn’t want to carpet over them, replace them, or pay professionals to strip the paint, I knew I needed to get creative. I contemplated stripping them myself or even using contact paper with a thick polyurethane overcoat. Eventually I realized I should just fight fire with fire and paint over them.
I am so happy I went this route. I refreshed my stairs for about $75 and you can too!

materials needed
- 2″ angled paintbrush
- Paint stick and can opener
- Caulk
- Primer (a good multisurface primer is key. This one is tried and true.)
- Anti-skid porch and floor paint for the step (I used Valspar Repose Gray, more on that below)
- Riser paint (I used a pure white semi-gloss but would recommend a flat white as I don’t love the shine)
cost breakdown
| Item | Quantity | Cost/Unit | Total Cost |
| Paintbrush | 1 | $6 | $6 |
| Paint stick and can opener | 1 | $0 | $0 |
| Caulk | 1 | $8 | $8 |
| Primer | 1 | $11 | $11 |
| Porch + floor paint | 1 | $40 | $40 |
| Riser paint | 1 | $10 | $10 |
| $75 |
instructions
step one: clean and prep
The first thing you want to do is make sure your stairs are clean. I scrubbed with a rag and some soapy water. The goal is to make sure you have a clean, even surface to paint.
Once the stairs were clean, I went back over them with a paintable caulk to fill in any holes or cracks. Since my home is 100 years old, there was some mild separation between the steps and the baseboard trim so I filled that with caulk. You might find you need to fill nail holes from when you pulled up the carpet, or there might just be minor dings or dents on the stairs. If necessary sand any uneven areas.
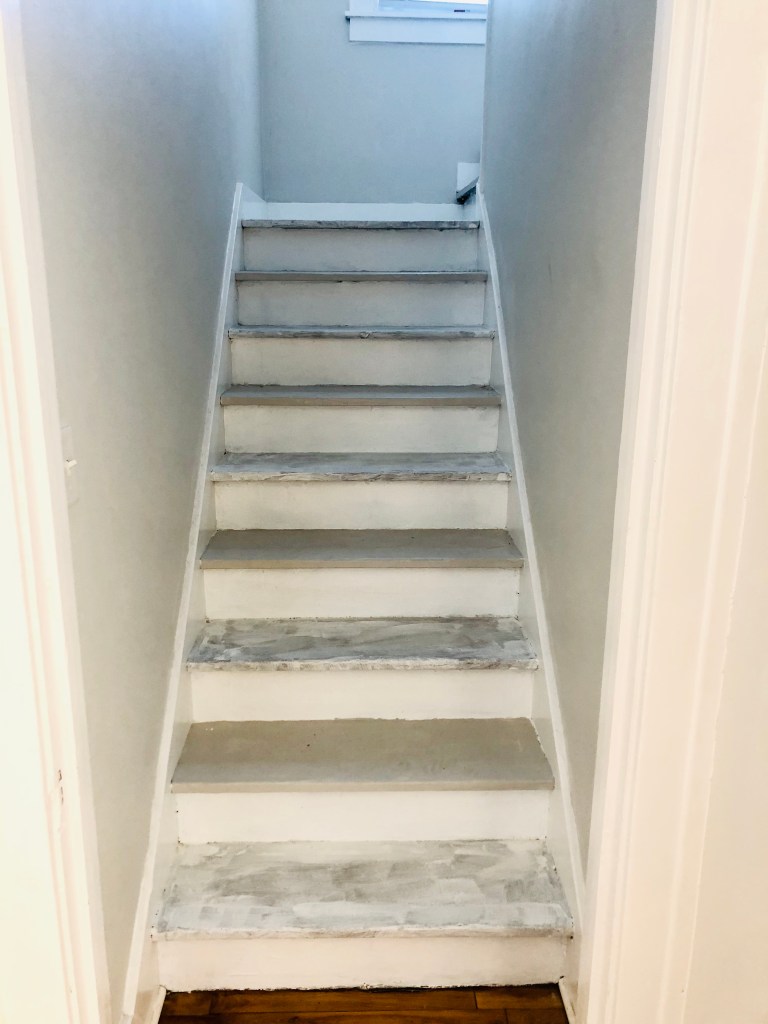
step two: prime
I broke this step down into two days. On day one I painted the Zinsser Bulls Eye primer on all of the risers and on every other step. You want to prime every other step so that you can still use the stairs! I let the stairs dry overnight and primed the other steps the next day.
Don’t skip the priming step as it really helps you use less paint to get an even, clean result.
Word to the wise, make sure you rinse your paintbrush right after you finish using it for the day. Dry it with a paper towel to get out the excess water, and leave it handle-side up to finish drying. This will help keep your brush clean and soft, instead of rock-hard and useless.
step three: paint the risers
I did the first coat of my white riser paint before painting any of the steps so I could be a little messy. The angle of the brush will help you get into the corners and go along the edges with minimal mess. Make sure to clean as you go by taking a rag, paper towel, or in my case my finger, and cleaning up any stray paint marks.
If you know you’re a bit messier with paint, try using an edging tool or painters’ tape to keep paint off of the walls.
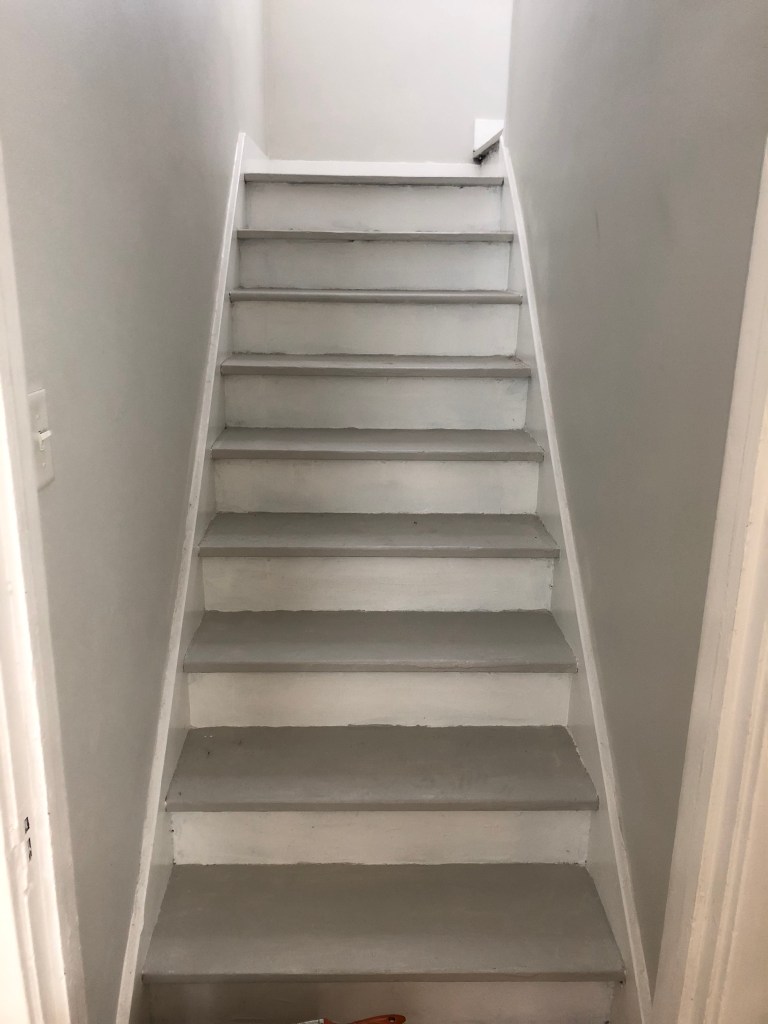
step four: paint every other step
Using your preferred step paint, carefully paint your first coat onto your first step. Do you like the color? I hope so! Keep painting, but remember to paint every other step so you can still use your stairs.
Let the steps dry overnight. Then paint a second coat and allow those to dry. Now you should have painted risers and half of your steps.
step five: paint the remaining steps
Once the first round of steps are dry, you can paint the remaining steps. Repeat the process from step four. Since all of your steps are painted the same color, do something to signify which steps are dry and safe to walk on. I used my paint supplies and set one item on each step that was okay to walk on. You might consider using a piece of painters’ tape or a Post-It note.
step six: riser second coat
Finally, all of your steps are painted! Now go back and add a second coat of paint to the risers, being extra careful not to get any on your newly painted steps. A second coat lets you clean up any patchy spots or spots where you might have gotten a little messy with the step paint.

closing thoughts
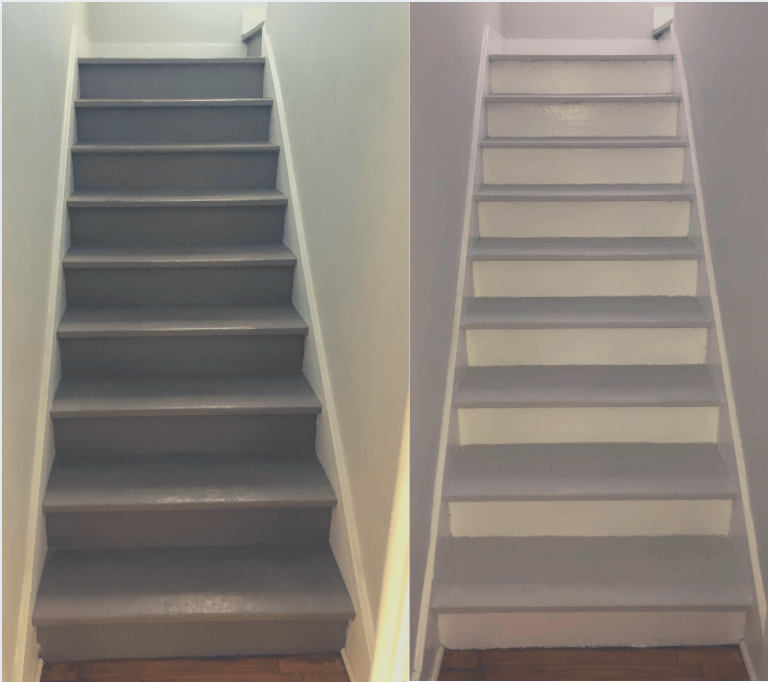
Overall, I’m thrilled with the results. The before and after pictures speak for themselves. This was a complete upgrade, and I would recommend this method to everyone looking for a quick and low cost fix.
HOWEVER, after living with newly painted stairs for a couple of months there are some things I wish I could change.
First, I used leftover trim paint for the risers. The problem is that it’s a semi-gloss and the gloss is fairly noticeable (at least to me!). If I could do it again, I’d use a flat white paint like the one linked above.
Second, I love the color of the step paint, but it’s a bit too light for the type of traffic our stairs get. We have a dog who tracks dirt inside, and I can see his paw prints and dirt smudges. I try to wipe them down regularly, but who wants to wipe their stairs down every day? I wish I’d gone with a slightly darker color that wouldn’t show dirt as much. I anticipate painting over them at some point, but for now I really do love the color and you can’t beat the cost.
If you decide to paint your stairs let me know how it goes!
